Unleash the Inner Scientist: Transform Your Kitchen into a Science Lab
Jan 8, 2024
Ever wonder how that cool slime you see online works? Or why a volcano erupts with fizzy excitement? Science is all around us, waiting to be explored! And guess what? You don't need a fancy lab to ignite your child's scientific curiosity. With a few household items and a dash of imagination, your kitchen can be transformed into a thrilling science lab!
Today's post is packed with exciting, easy-to-do science experiments you can conduct with your child using everyday materials. We'll explore the fascinating world of science, all while having a blast! But the benefits go beyond just fun. These experiments will help your child develop critical thinking skills, problem-solving abilities, and a deeper understanding of the world around them.
Without further ado, here's a 5 scientific adventures that await, complete with basic step-by-step instructions and explanations:
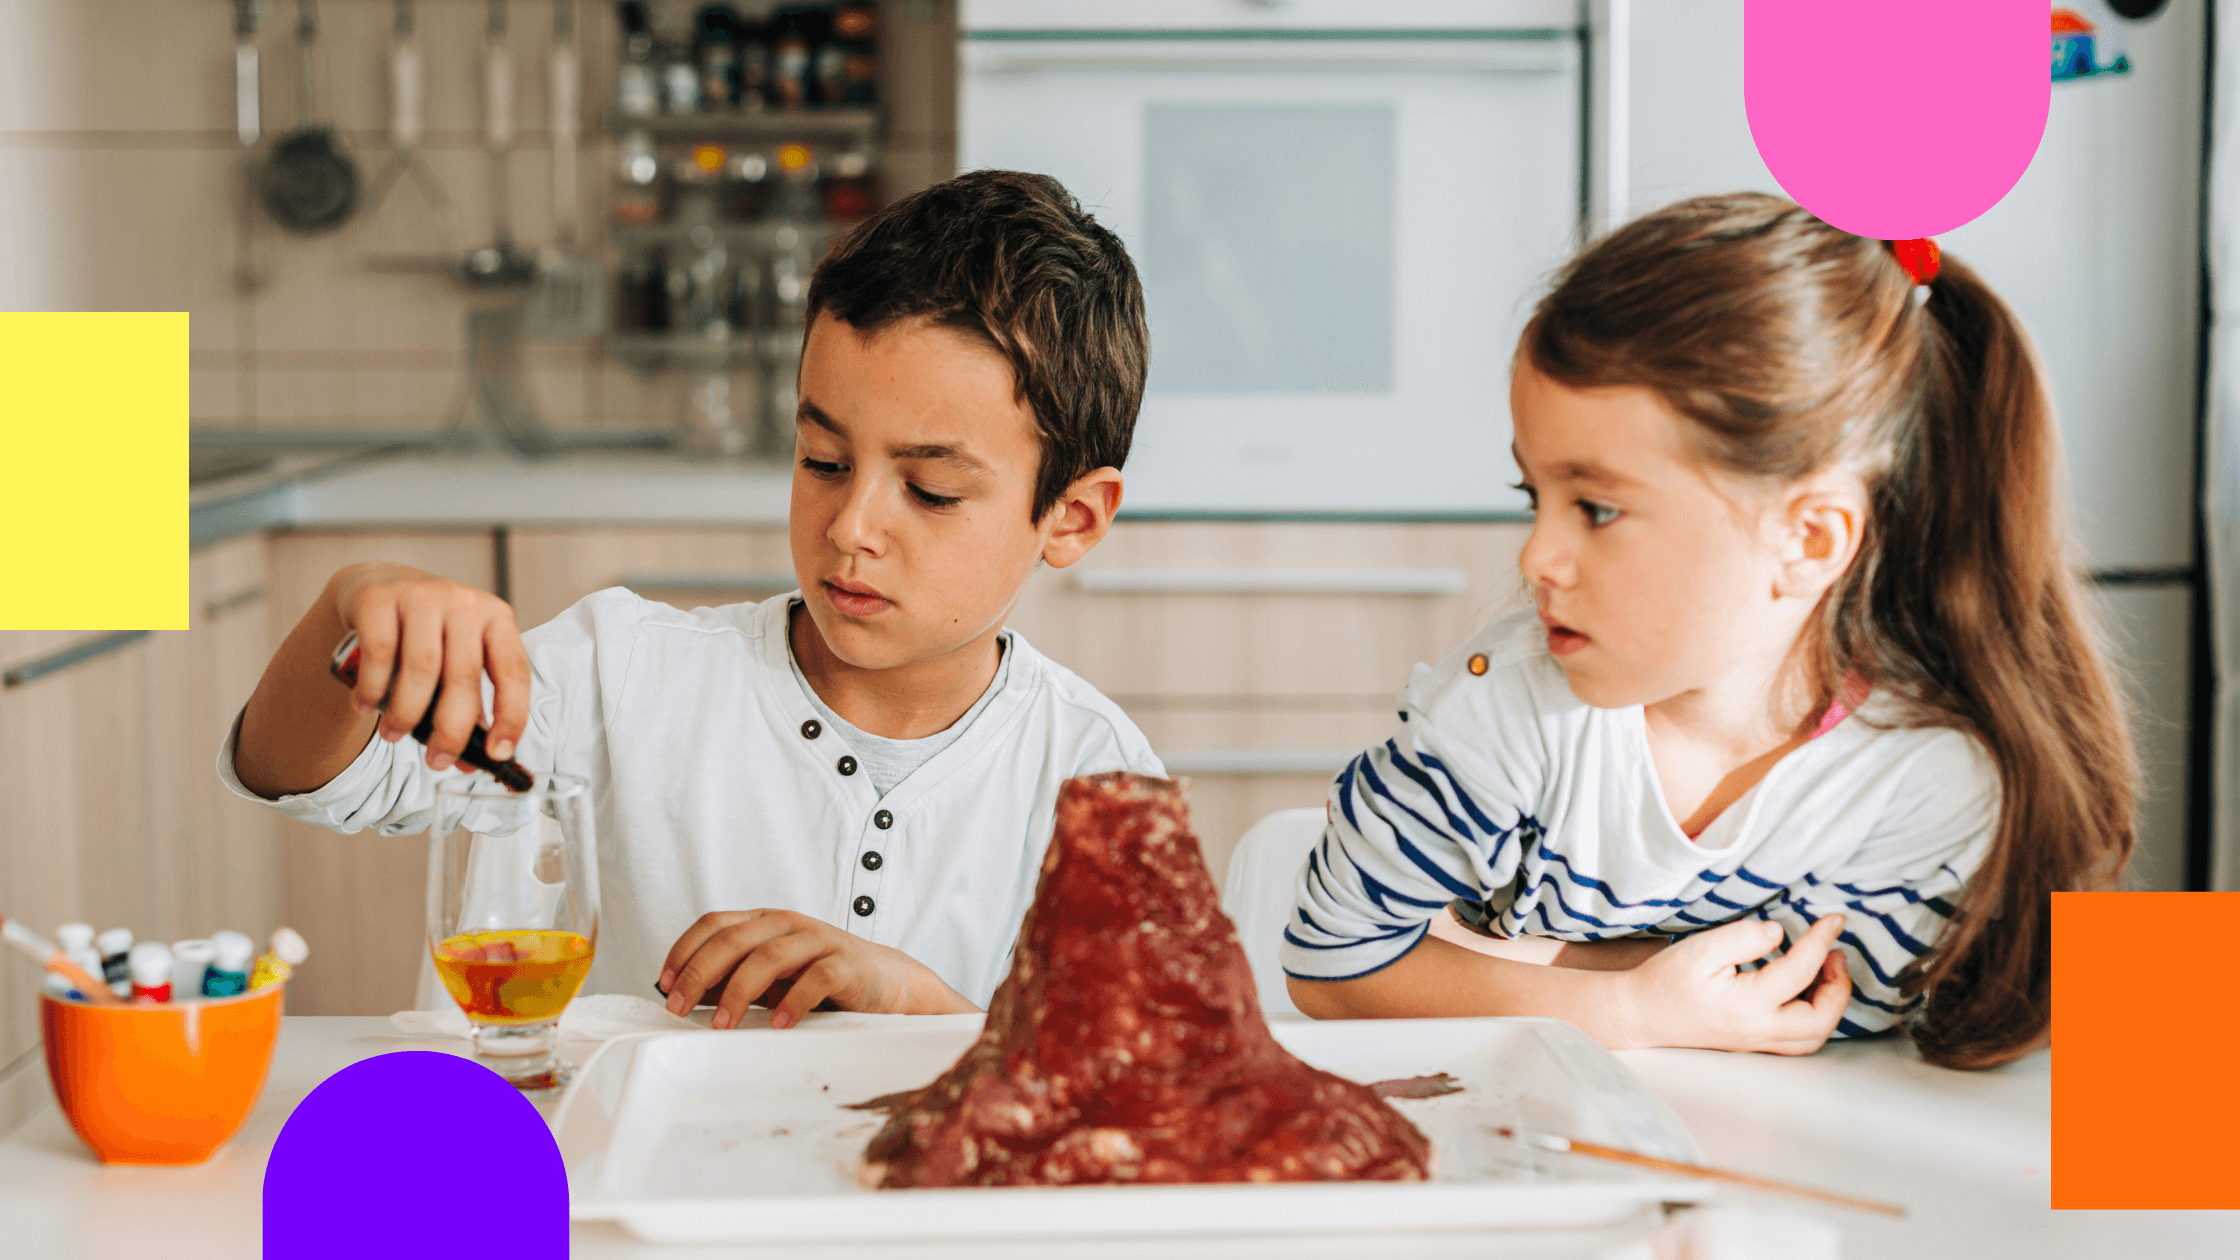
Erupting Volcanoes: Witness the explosive power of baking soda and vinegar as we create a classic science fair favourite! Learn about chemical reactions and explore the concept of gas formation. This experiment is a great introduction to how different substances can interact and cause exciting changes.
Materials: Cardboard or paper-mache for the volcano model, baking soda, vinegar, dish soap (optional for bubblier eruption), red food colouring (optional), small cup or spoon.
Steps:
Construct a volcano model using cardboard or paper mache. Leave an opening at the top for a cup holding the baking soda and dish soap mixture.
In this cup, mix a few tablespoons of baking soda with a little dish soap (for a bubblier eruption).
in a separate cup, add a few drops of red food colouring to about half a cup of vinegar for a more dramatic effect.
Pour the vinegar into the cup containing the baking soda mixture. Observe the fizzing and bubbling reaction as the volcano erupts!
Science Behind It: Here's the secret behind the bubbling lava in your volcano: baking soda is a superstar ingredient called a base, and vinegar is another champion called an acid. When these two team up, something called an "Endothermic Reaction" occurs. They fizz and zap, creating a special gas called carbon dioxide.
This invisible gas is like a tiny party crasher – it wants to escape the bottle as fast as possible! It bubbles up through the mixture, causing the dish soap to foam like crazy. The growing gas and foamy mess quickly fill the bottle, building pressure. Then, BOOM! The gas blasts out, taking some of the foamy mixture with it, creating a cool "lava flow" down the side of your volcano! Isn't science awesome?
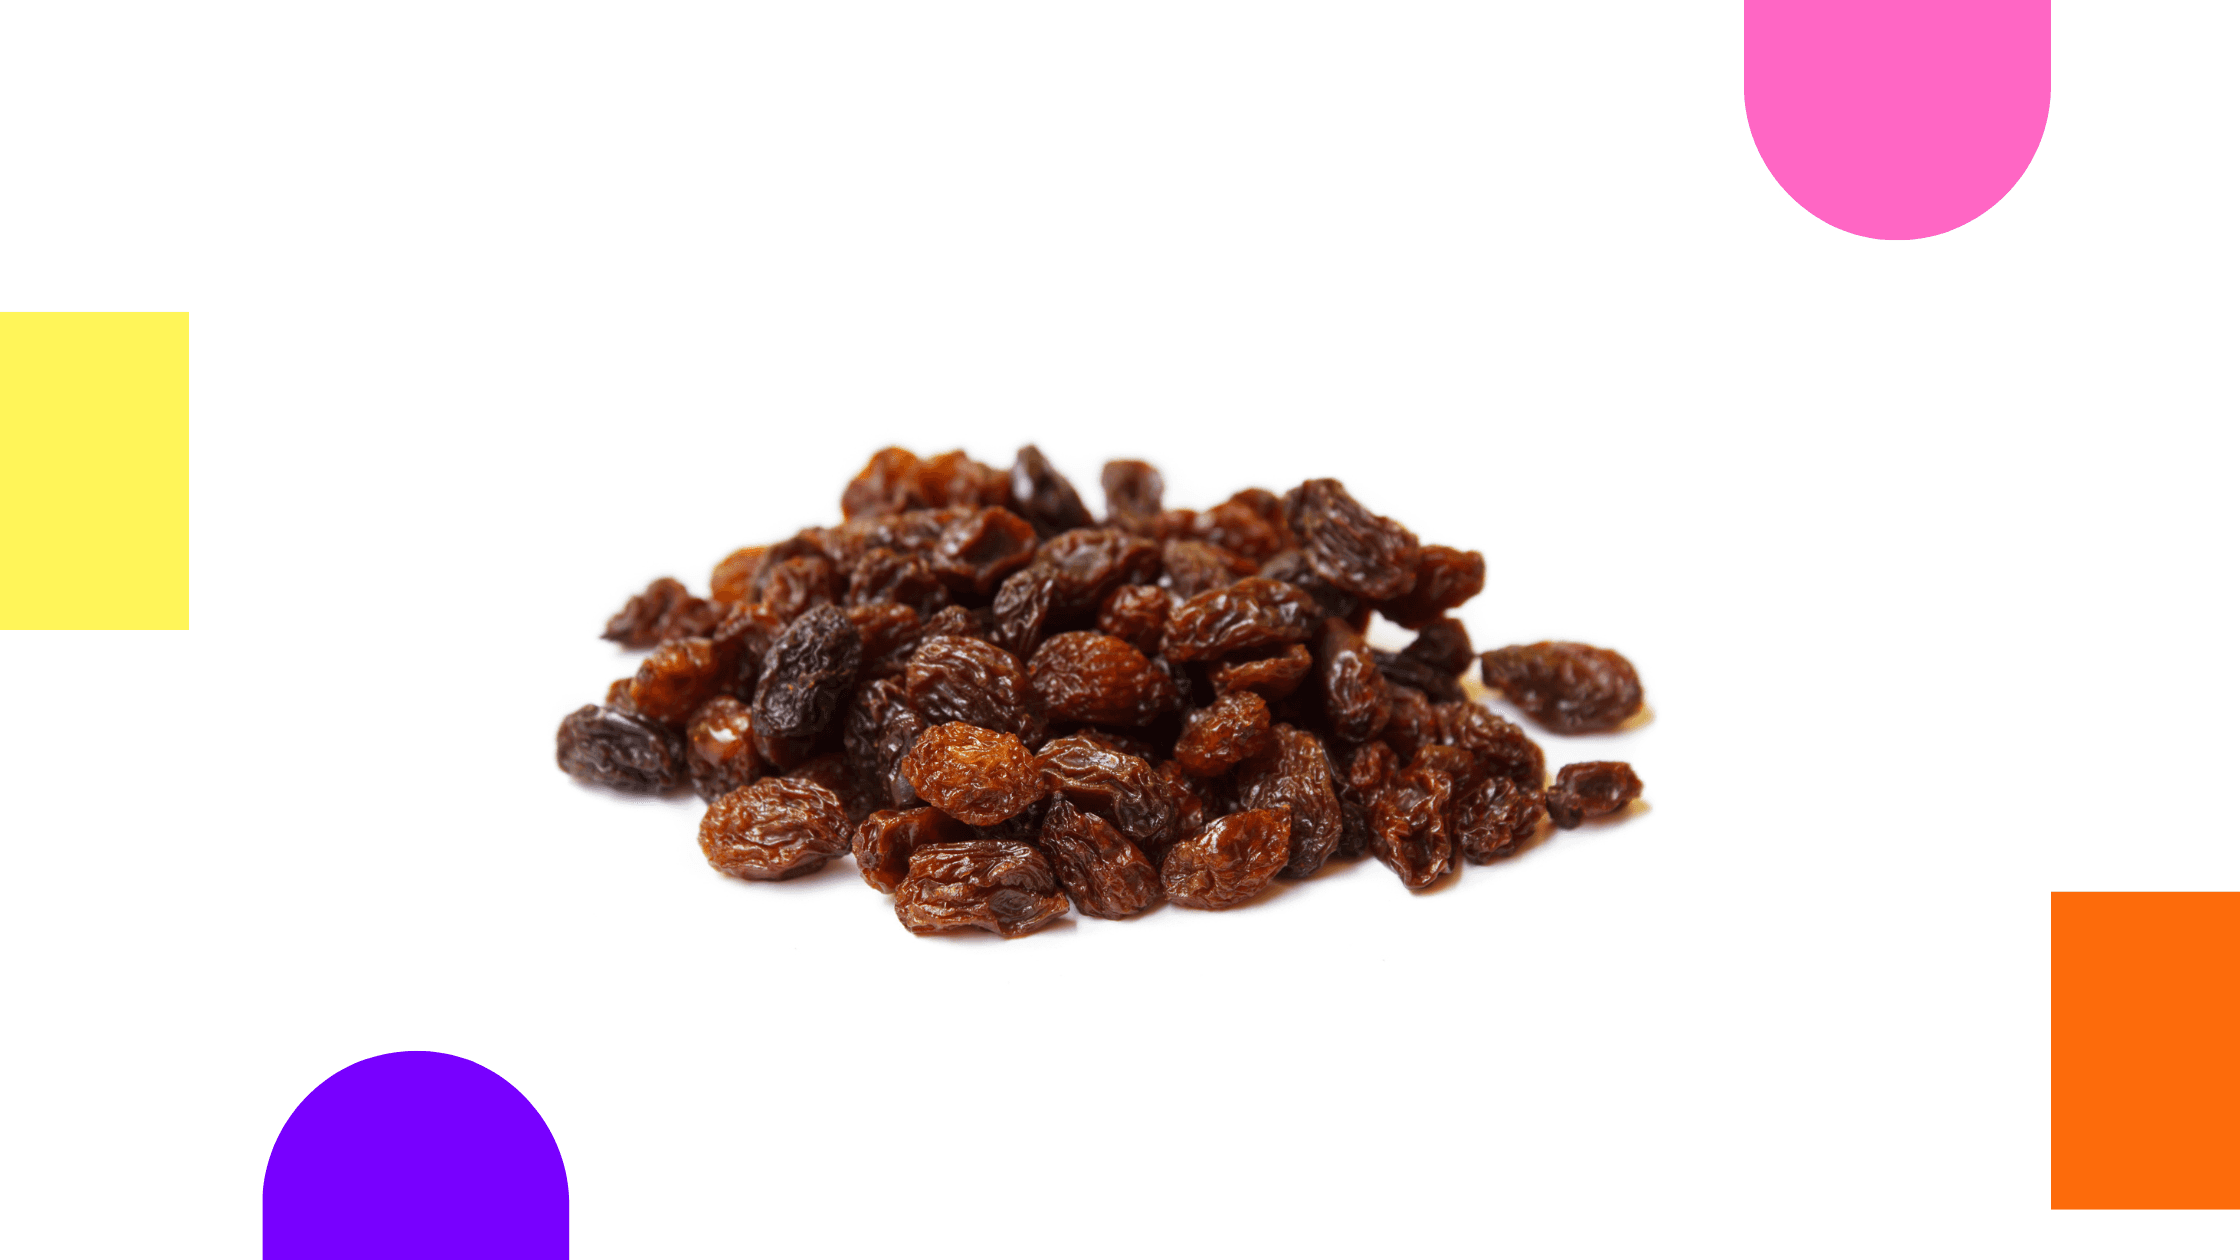
Dancing Raisins: Transform a shallow dish of ordinary water into a bubbly wonderland with the help of a simple (and delicious!) ingredient. Uncover the secrets of density and buoyancy in a way that's both fun and visually awesome! Kids will be amazed to see how the raisins defy gravity and perform their underwater jig.
Materials: Clear glass, water, raisins, baking soda (optional)
Steps:
Fill a clear glass with carbonated water.
Add a handful of raisins and observe them sink to the bottom.
Wait a little, then watch in amazement as the raisins bob up and down!
Science Behind It: Those yummy raisins in your soda aren't just sitting there – they're having a dance party! Here's why: Soda is full of tiny air bubbles, like invisible balloons. These bubbles love to stick to the bumpy bits on the raisins, like tiny party hats!
The bubbles act like balloons, lifting the raisins up towards the top of the glass. But wait! When the raisins reach the surface, those tiny balloons pop! Without their floaty friends, the raisins sink back down to the bottom. But guess what? They get covered in more bubbles again, ready for another lift to the top! This cycle of bubbles popping and raisins rising and falling creates the fun "dancing raisin" effect! It's like a disco party in your glass!
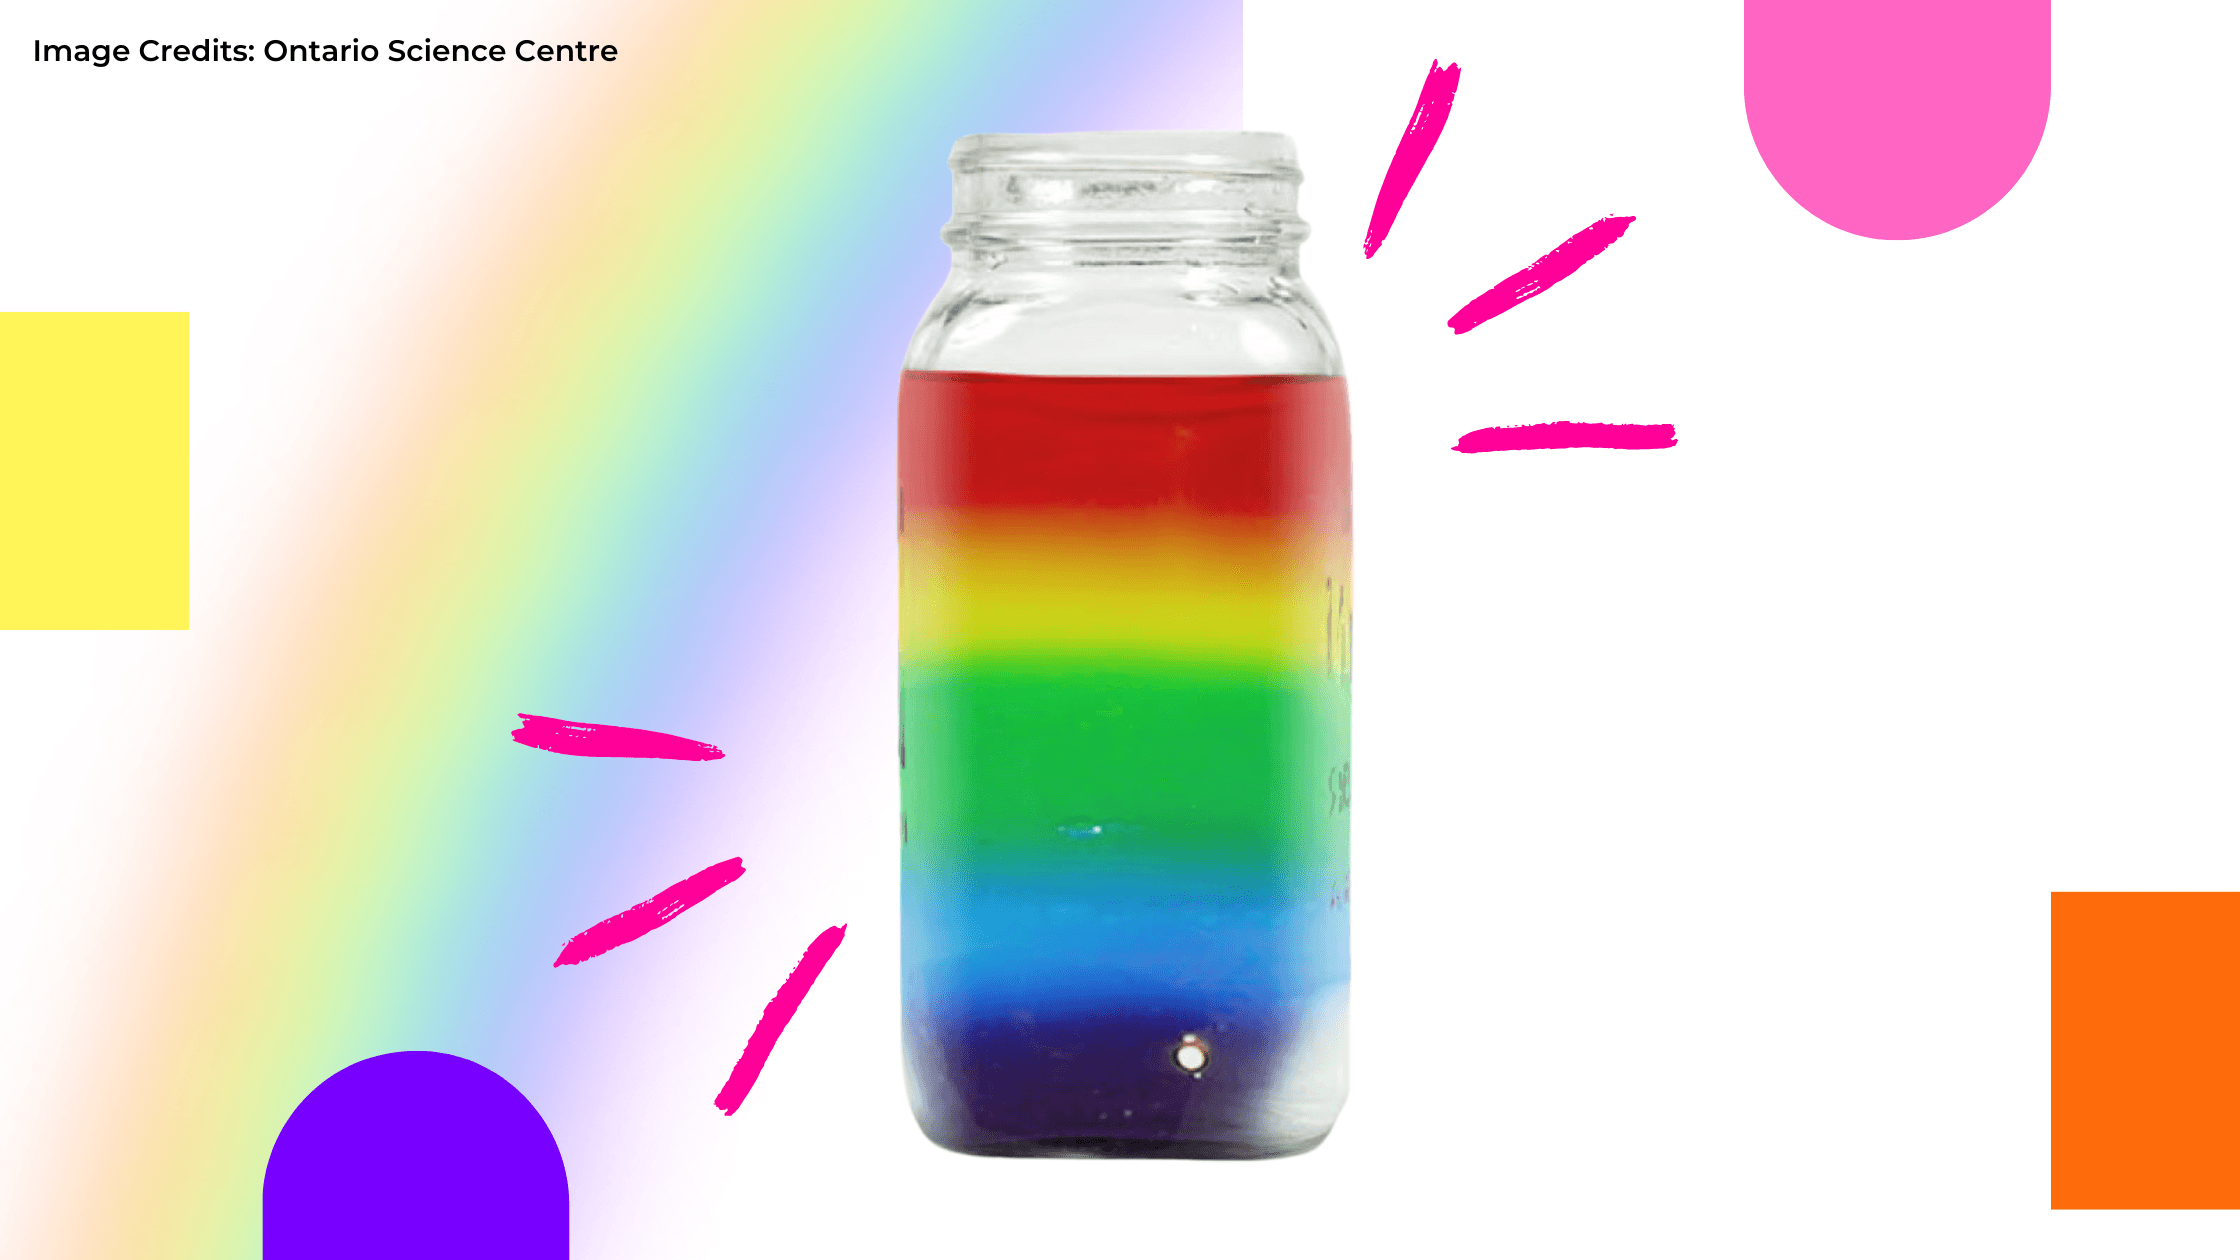
Rainbow in a Jar: Witness the beauty of capillary action and colour separation as you create a stunning rainbow inside a jar!
Materials: Clear jar, water, food colouring (various colours), paper towels
Steps:
Fill the jar about ¾ full with water.
Add drops of food coloring (red, orange, yellow, green, blue, and purple) around the inside edge of the jar, spacing them out evenly.
Take a paper towel and cut it into thin strips.
Place one end of a paper towel strip into the water near the edge of the jar, and let the other end rest on the outside of the jar.
Repeat step 4 with several paper towel strips, placing them around the entire jar.
Watch in amazement as the colors travel up the paper towel strips, creating a beautiful rainbow effect!
Science Behind It: This experiment demonstrates capillary action, the ability of a liquid to travel up narrow spaces. The paper towel fibres act like tiny tubes, drawing the coloured water up from the jar. The water separates into the different colours because each color travels at a slightly different speed. You can find more about capillary action on websites like National Geographic Kids.
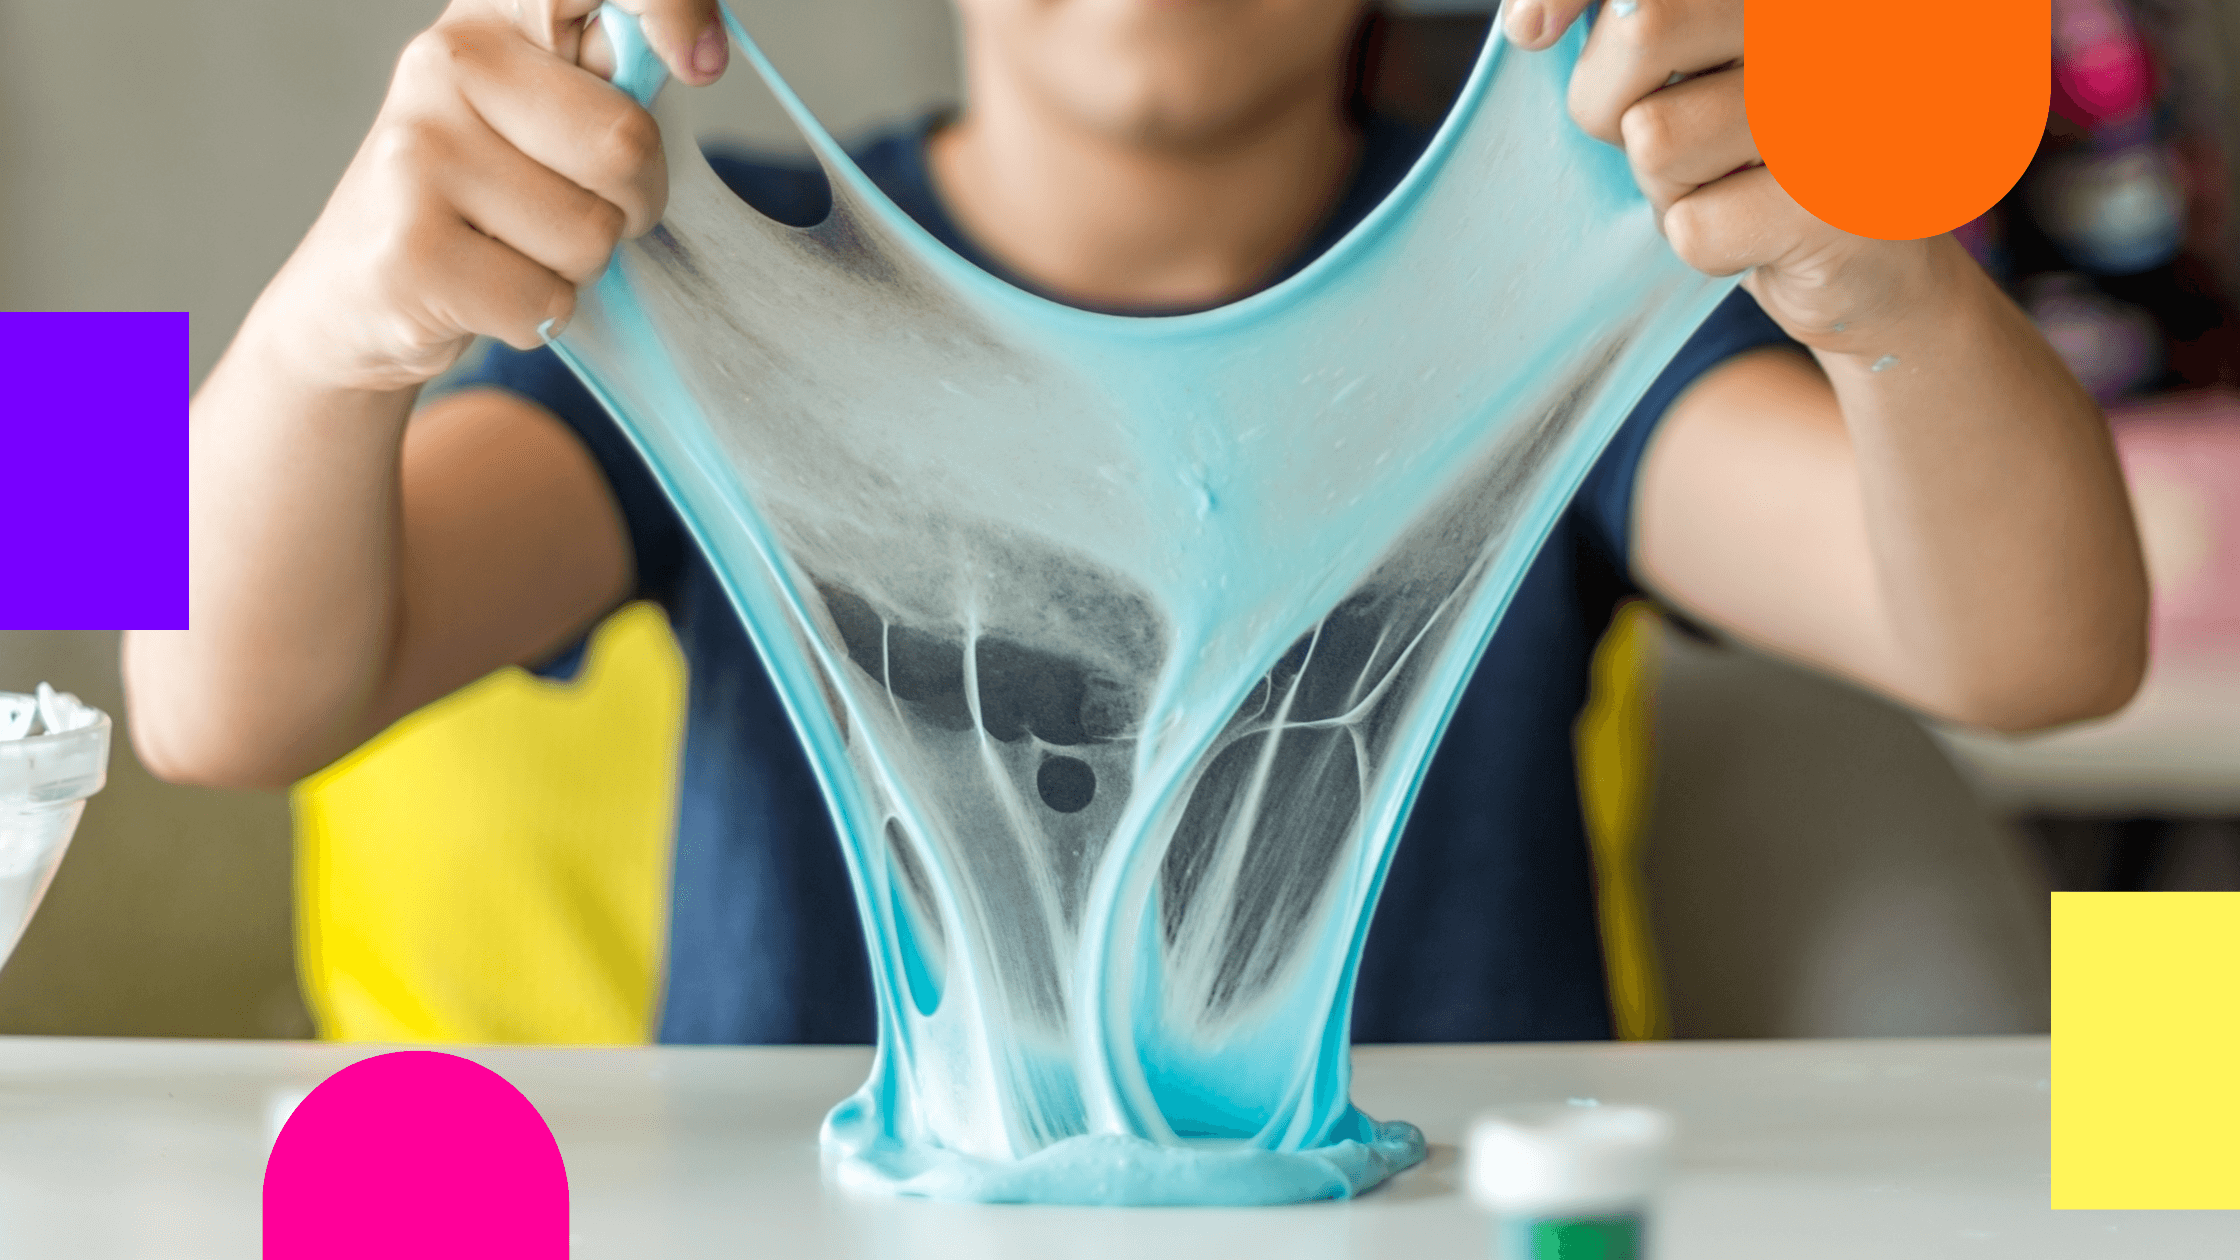
Ooey-Gooey Slime: Who doesn't love slime? This experiment takes the fun a step further by exploring the fascinating properties of polymers. We'll create a squishy, stretchy concoction that demonstrates the science behind this popular sensory toy. Slime is not just for play – it's a great way to learn about the different states of matter and how materials can change their form.
Important Note: Ask a grown-up to help you with this experiment because borax can be harmful if swallowed.
Materials:
Glue (white school glue or clear PVA glue)
Borax powder (dissolved in water)
Food colouring (optional)
Bowl
Spoon
Steps:
In a bowl, mix equal parts glue and water (½ cup each is a good starting point).
Add a few drops of food colouring (optional) for a vibrant slime.
With adult help, dissolve 1 teaspoon of borax powder in ½ cup of warm water in a separate container. Borax can irritate skin and eyes, so be careful not to touch it directly.
Slowly add the borax solution to the glue mixture one tablespoon at a time, stirring constantly. The mixture will slowly begin to thicken and become stringy.
Science Behind It: Glue is a polymer, a long chain-like molecule. When you mix the glue with the borax solution, the borax ions (charged particles) interact with the glue molecules, causing them to link together. These linked chains form a strong network that traps water molecules, giving the slime its gooey consistency. The more borax solution you add, the stronger the cross-links become, making the slime firmer.
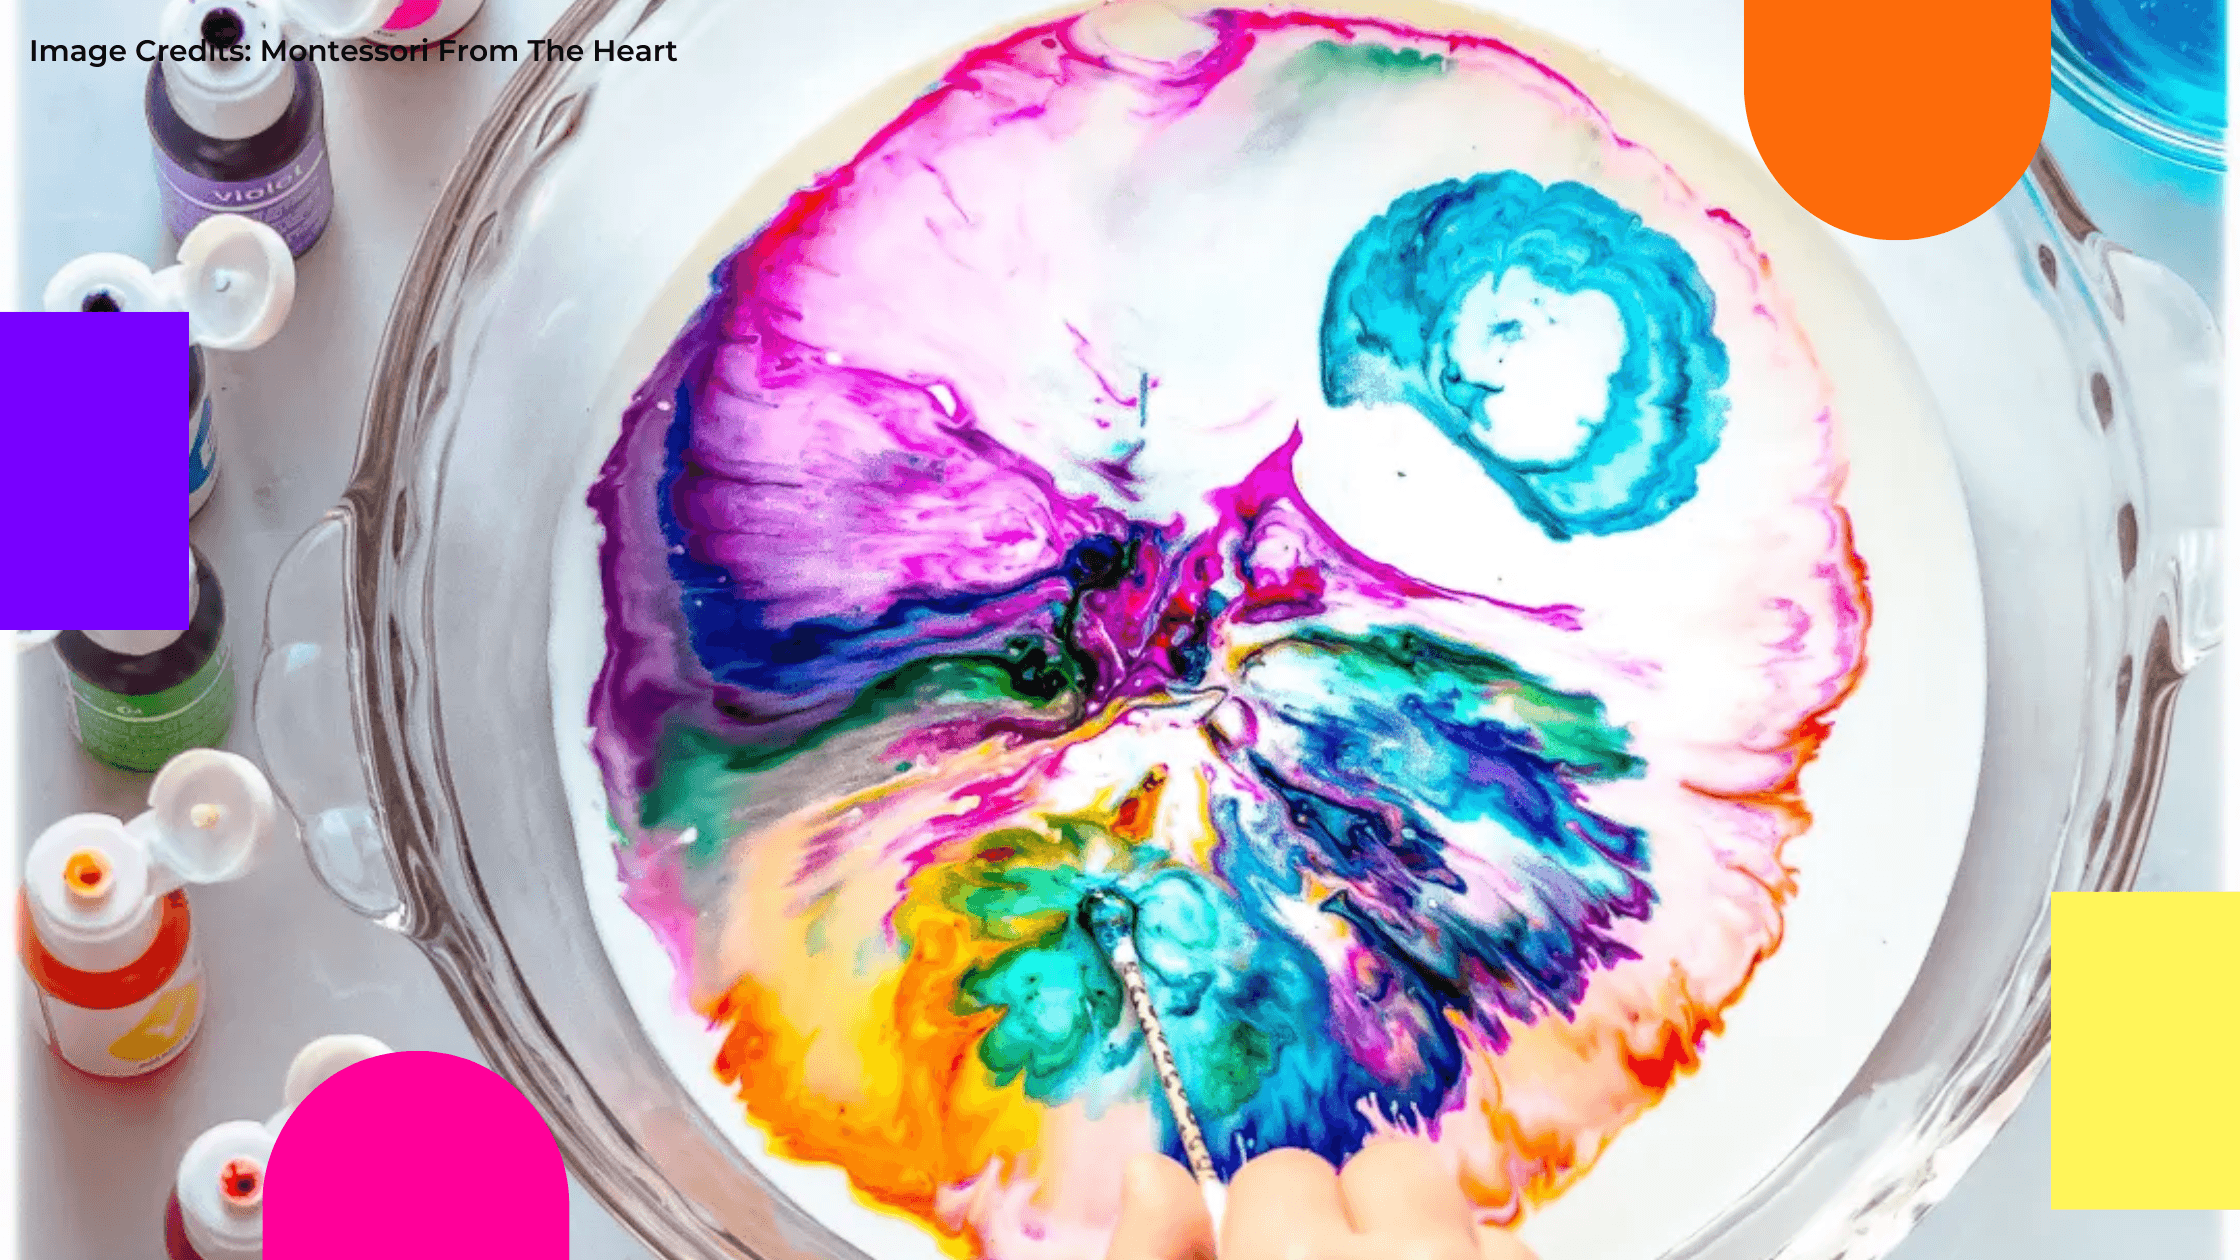
Magic Milk: Explore the power of surface tension and chemical reactions!
Milk is more than just a delicious drink; it's a science experiment waiting to happen! In this experiment, we'll use dish soap to create swirling colours in a bowl of milk, revealing the fascinating properties of surface tension.
Materials:
Shallow dish or bowl
Milk (whole milk works best, but skim milk will work too)
Dish soap
Cotton swab (optional)
Food colouring
Steps:
Pour a thin layer of milk into your shallow dish or bowl. You want just enough to cover the bottom.
Add drops of food colouring in various colours around the surface of the milk. Space them out a bit for the best effect.
Now, here comes the magic! Dip a cotton swab into the dish soap, then gently touch the centre of the milk. You can also carefully drip a few drops of dish soap directly into the centre.
Science Behind It: Here's the secret behind your magical milk art: milk isn't just a yummy drink, it has tiny bits of fat floating around in it, almost like invisible marshmallows! The food colouring you added loves to hang out with these little fat particles.
Now, imagine these fat pieces are all holding hands in a giant circle. That's kind of what they do, forming bonds to stay together. Dish soap, the superhero of cleaning greasy dishes, has a special power – it can break these bonds!
When you add a drop of dish soap to the milk, it disrupts the fat party. The soap breaks the bonds between the fat pieces, making them separate and move around. This movement pushes the food coloring along for the ride, swirling it all together and creating your fantastic milk art! It's like a colorful explosion in your bowl!

The Fun Doesn't Stop There!
These are just a few ideas to get you started on your exciting scientific journey! Remember, there's a scientist in all of us. So next time you're in the kitchen, grab some everyday ingredients and get ready to explore the wonders of science!
Bonus Tip: Keep a notebook to record your observations and findings. You might even invent a new experiment of your own!
So put on your lab coat (or an apron!), grab your goggles, and get ready for some messy, magnificent science fun!
